


If you find your brakes going spongy then it’s usually a sign that your brakes need bleeding. Over time air gets into the hydraulic lines and, unlike liquids, air can be compressed, which reduces bite and feel at the lever. Follow our guide to bleed your brakes and get that snappy factory fresh feeling back at the bars.
How to bleed Shimano hydraulic road disc brakes
Time taken – 30-60 minutes
Money saved – £30
Items needed
- Shimano bleeding kit
- Shimano mineral oil
- Flat head screwdriver
- Allen keys – 2.5mm, 3mm, 5mm
- Tissues/rags
- Gloves
- Eye protection
1. Gather your tools & remove the wheel

If you get hydraulic fluid on the rotor it will contaminate the pads and braking force will be severely reduced. Place to one side (where you won’t trip over it).
2. Remove the brake pads

Again to avoid contamination we remove the brake pads. There’s a small spring clip on the inside of the brake caliper, which should just pop off. Store this somewhere safe as they are easily lost.

Now unscrew the pad retaining bolt with a flat head screwdriver. Squeeze the pads together and they should come out of the top, bringing the pad spring with them. Put them to one side, away from any contaminants.
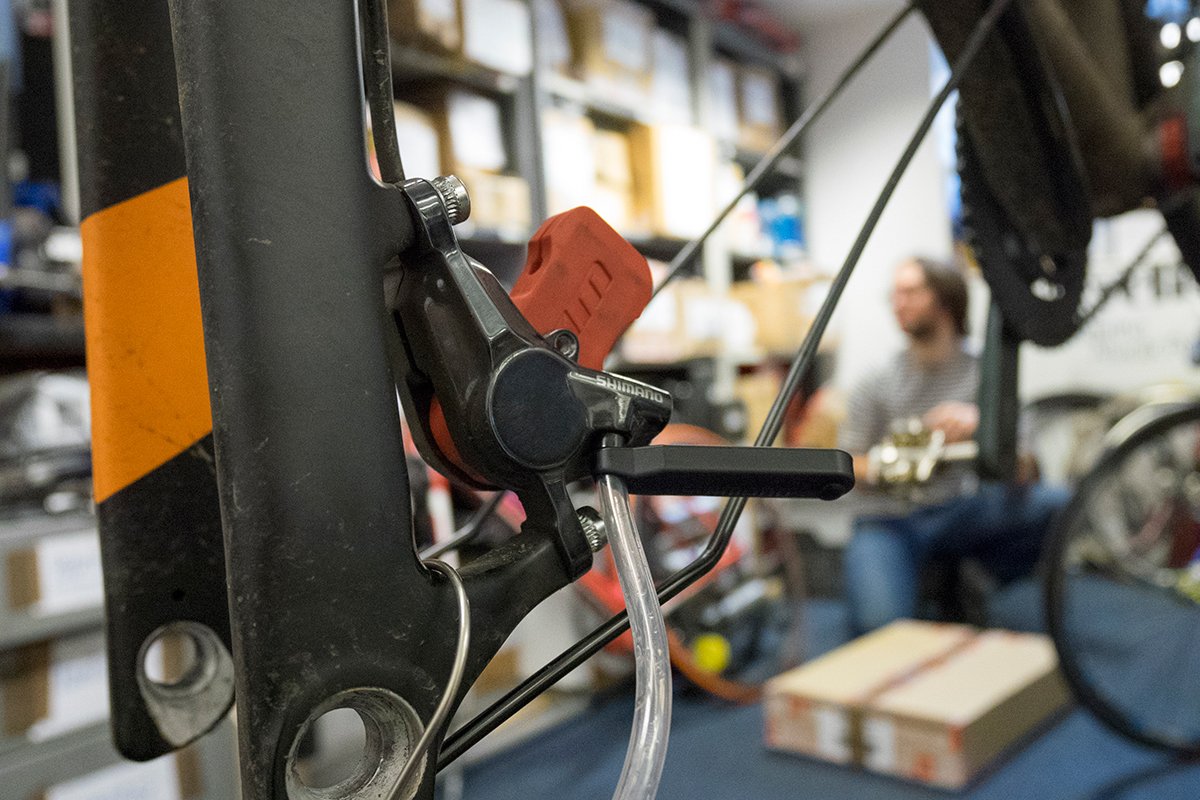
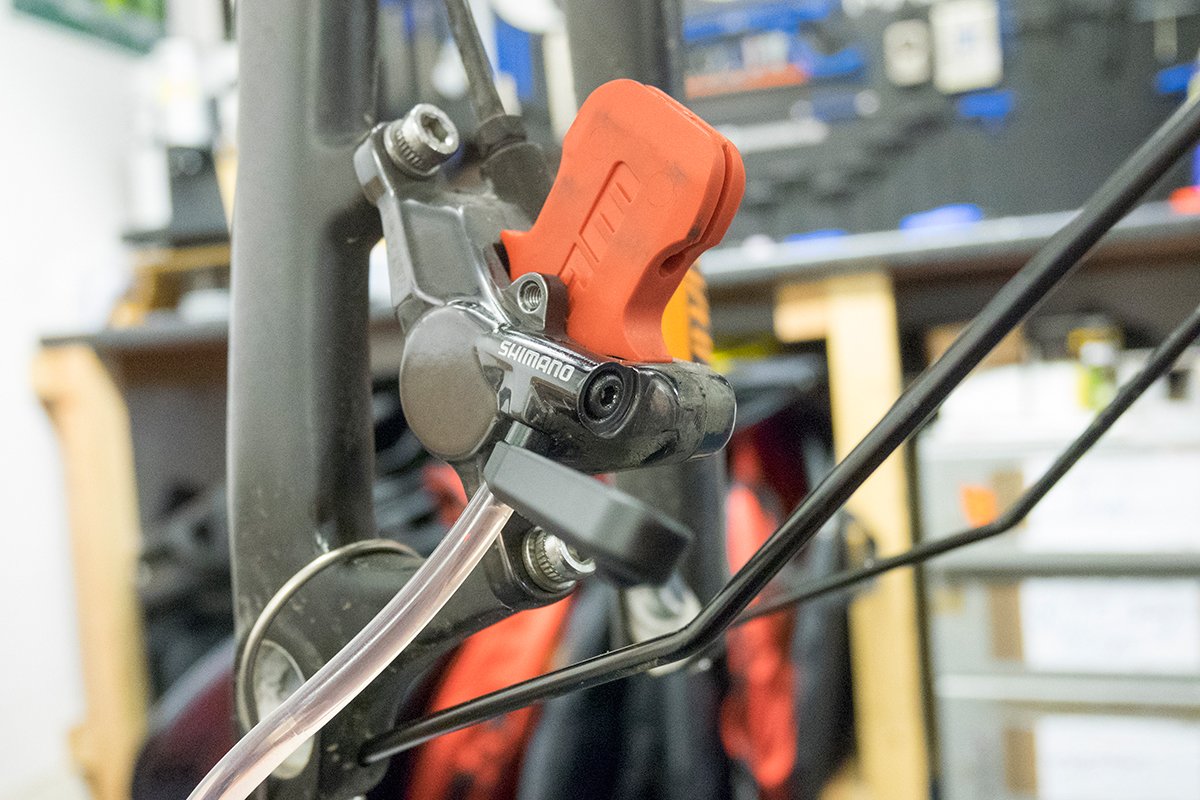
3. Insert piston spacer

The piston spacer prevents the piston from popping out of the caliper when placed under pressure. Not inserting the spacer, and popping the piston out, will end up with a whole world of pain. We’ve used a SRAM one, as it’s a little easier to manipulate.
4. Attach the waste fluid container

On the underside of the rear part of the caliper is a small rubber bung that can be popped off, under which is the bleed nipple. Attach the hose and retainer included in the bleeding kit and secure the waste fluid container (or bag in the basic kit).
5. Attach the fresh fluid container & fill

Peel back the hood on the STI and locate the small black screw. This is the filling port for the fluid reservoir of the master cylinder. Use the 2.5mm allen key to remove it and set it to one side. The plastic fluid cup should thread into the open port, although be careful to align the threads as the plastic ones on the cup are easily damaged. Remove the plug and fill approximately ¾ with fresh fluid.
6. Begin bleeding

Unscrew the 3mm grub screw on the rear of the brake caliper to allow the mineral oil to drain out. Be careful not to unscrew all the way out – it usually only needs to be opened ¼ turn to allow the fluid to flow. You should see hydraulic fluid pour down the tube (quite possibly discoloured) and hopefully some bubbles too. Keep an eye on the fluid in the plastic cup and top it up if required to ensure it does not empty out.
7. Bring the system up to pressure

Once bubbles have stopped coming out with the fluid, close the 3mm bleed screw to stop the fluid. Squeeze the brake lever until it goes firm. Now while still squeezing the lever, reopen the bleed screw. Fluid will squirt out, usually full of bubbles. With the lever still depressed, close the bleed screw and allow the lever to return to its normal position. After three or four attempts the lever should firm up, so that when squeezed it does not pull towards the bar or feel spongy.

Occasionally the lever does not stiffen up and continues to feel spongy and pull towards the bar. This is an indication that air remains trapped in the system. If this happens remove the caliper, give it a few taps and allow it to hang low then repeat the bleeding process.
8. Begin reassembly

Once the lever feels firm, ensure the 3mm bleed screw is closed and insert the plug back into the plastic fluid cup. Unscrew the cup and reinsert the black filling port screw with a 2.5mm allen key. Clean up any fluid with a rag, return the rubber hood to its normal position and dispose of any excess fluid.
At the caliper, remove the bleeding hose and refit the rubber bung. Dispose of the old fluid. Wipe down the caliper and surrounding area to make sure there is no excess hydraulic fluid lingering. You can now remove the piston spacer, refit the pads (taking note of L/R markings) and wheel. Check the function of the brake by pushing the bike along before attempting to ride.
Thanks to Park Tool for the tools and Specialized for the Diverge.

